                     ▄▄
                     ██
 ██▄████▄   ▄████▄   ██ ▄██▀    ▄████▄
 ██▀   ██  ██▄▄▄▄██  ██▄██     ██▀  ▀██
 ██    ██  ██▀▀▀▀▀▀  ██▀██▄    ██    ██
 ██    ██  ▀██▄▄▄▄█  ██  ▀█▄   ▀██▄▄██▀
 ▀▀    ▀▀    ▀▀▀▀▀   ▀▀   ▀▀▀    ▀▀▀▀


              v0.2 manual
               7/4/2018
Table of Contents
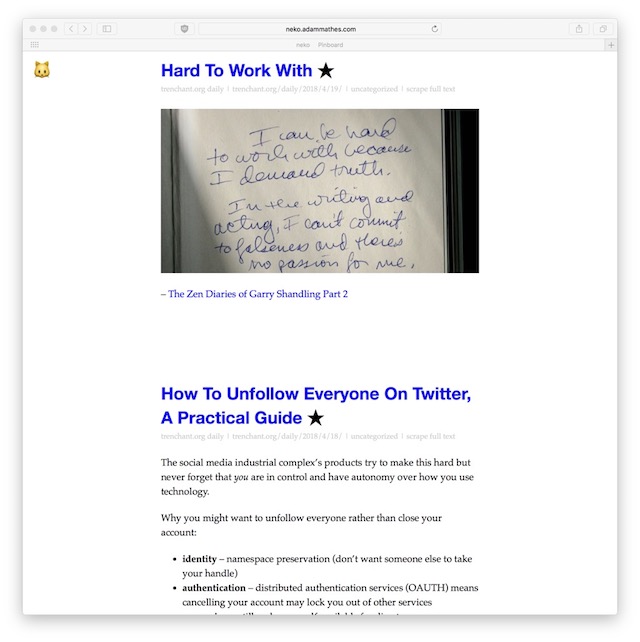
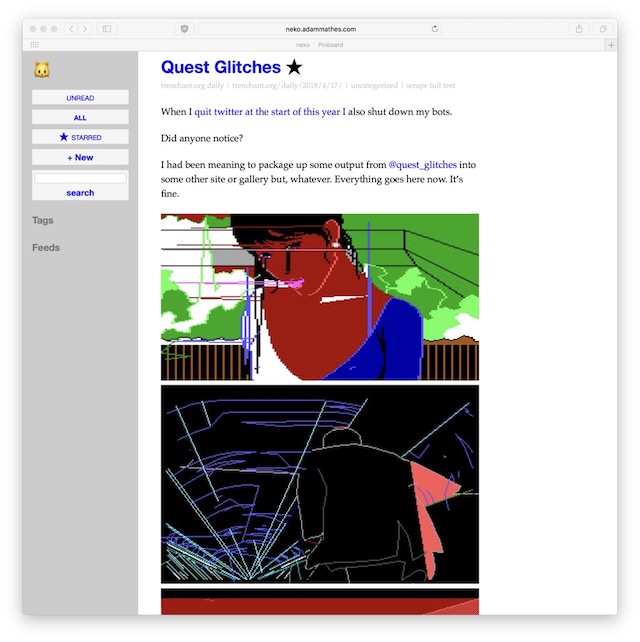
neko is a self-hosted, rss reader focused on simplicity and efficiency.
Backend is written in Go and there is a simple javascript frontend and cat ears.
note: the cat ears are in your mind


$ go get adammathes.com/neko
This will download neko, dependencies, and build them all in $GOPATH/src/. By default this should be something like $HOME/go/src/.
A neko binary should now be in $GOPATH/bin/. By default this is usually $HOME/go/bin/
There’s no configuration file – everything is handled with a few command line flags. You shouldn’t need to change the defaults most of the time.
By default neko will create the file neko.db in the current directory for storage.
You can override the location of this database file with the --database command line option.
$ neko --database=/var/db/neko.db --add=http://trenchant.org/rss.xml
For expert users – this is a SQLite database and can be manipulated with standard sqlite commands.
You can do most of what you need to do with neko from the web interface, which is what neko does by default.
$ neko
neko web interface should now be available at 127.0.0.1:4994 – opening a browser up to that should show you the interface.
You can specify a different port using the --http option.
$ neko --http=9001
If you are hosting on a publicly available server instead of a personal computer, you can protect the interface with a password flag –
$ neko --password=rssisveryimportant
You can add feeds directly from the command line for convenience –
$ neko --add=http://trenchant.org/rss.xml
By default neko will crawl your feeds every 60 minutes while the interface is running, but if you want to manually crawl from the command line –
$ neko --update
This will fetch, download, parse, and store in the database your feeds.
Export de facto RSS feed standard OPML from the command line with –
$ neko --export=opml
Change opml to text for a simple list of feed URLs, or json for JSON formatted output.
Export is also available in the web interface.
Import of OPML and other things is a TODO item.
View all command line options with -h or --help
$ neko -h
Usage of neko: -a, –add http://example.com/rss.xml add the feed at URL http://example.com/rss.xml -d, –database string sqlite database file (default “neko.db”) -x, –export string export feed. format required: text, json or opml -h, –help print usage information -s, –http int HTTP port to serve on (default 4994) -i, –imageproxy rewrite and proxy all image requests for privacy (experimental) -m, –minutes int minutes between crawling feeds (default 60) -p, –password string password to access web interface -u, –update fetch feeds and store new items -v, –verbose verbose output
I decided I didn’t like the original version of this that was python and mongo so rewrote it. I wanted to learn some Go. So assume the code is not great since I don’t know what I’m doing even more so than normal.
The Javascript frontend is still the same, I keep saying I will rewrite that too since it’s old backbone.js code but it still seems to mostly work. It’s not very pretty though.
Significant changes to simplify setup, configuration, usage. The goal was typing neko should be all you need to do to get started and use the software.
neko runs web server by defaultneko server crawls feeds regularly rather than requiring cronPull requests and issues are welcomed at https://github.com/adammathes/snkt